FREE SHIPPING IN THE USA
So You Wanna Build a Gundam: A Beginner’s Guide to Gunpla Without Losing Your Mind
Step-by-step tips for newcomers choosing and building their first kit.

Welcome to the glorious, slightly obsessive world of Gunpla. That’s short for Gundam plastic models, in case you’re still trying to play it cool. If you’ve ever stared at a fully-built kit and thought, “Wow, I could never do that,” trust me, you can. And I’m here to make sure you don’t glue your fingers together on day one.
Maybe you're here because you love Gundam. Maybe you're just looking for a hobby that doesn’t involve doom-scrolling. Either way, congrats—you’re one of us now.
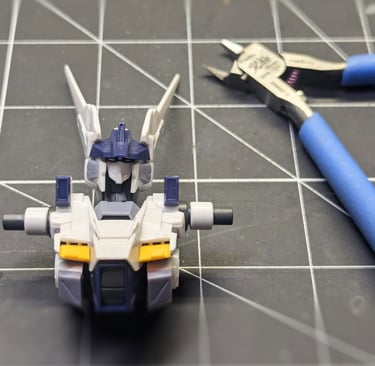
Step 1: Start Small. Like, High Grade Small.
I know, that gorgeous Perfect Grade Unicorn Gundam looks amazing on your feed. But building one as your first kit? That’s like learning to swim by cannonballing into the deep end wearing bricks.
Start with an HG (High Grade) kit. They’re affordable, beginner-friendly, and won’t require a full weekend and a bottle of ibuprofen. Luckily we have a whole section for you at the bottom of this page of our HG models in stock.
Step 2: Get the Right Tools
Look, I admire your DIY spirit, but your kitchen scissors are not invited to this party. You don’t need a full pro setup—just a few essentials:
Nippers for clean part removal
Sanding sticks or files to smooth those leftover nubs
Tweezers to help with stickers or tiny pieces
Panel liner pen to bring out the details
Optional: a cutting mat and hobby knife if you're feeling ambitious.
Step 3: Read the Manual
Gunpla manuals are almost all pictures. No paragraphs, no walls of text—just lovely, logical steps. Do yourself a favor and follow them. Don’t skip around, don’t get creative. Build in order unless you want to spend your evening prying stuck joints apart with a butter knife.
Step 4: Snap First, Fancy Later
This is your first kit. You don’t need to paint it, weather it, or make it look battle-scarred like it just fought Char’s entire fleet. Focus on building cleanly. You can always get into customization once you’ve got the basics down.
If you really want to spice it up, use a panel liner. It adds drama with minimal effort. We love that.
Step 5: Put It Somewhere It Deserves
You built a tiny, poseable robot. That’s an accomplishment. Put it somewhere it’ll be appreciated—your desk, your shelf, right next to your Zoom camera. Let it silently judge your coworkers.
Just keep it out of reach of cats. They will knock it over like it personally insulted them.